Last updated October 30, 2026
 Sweep & inspection
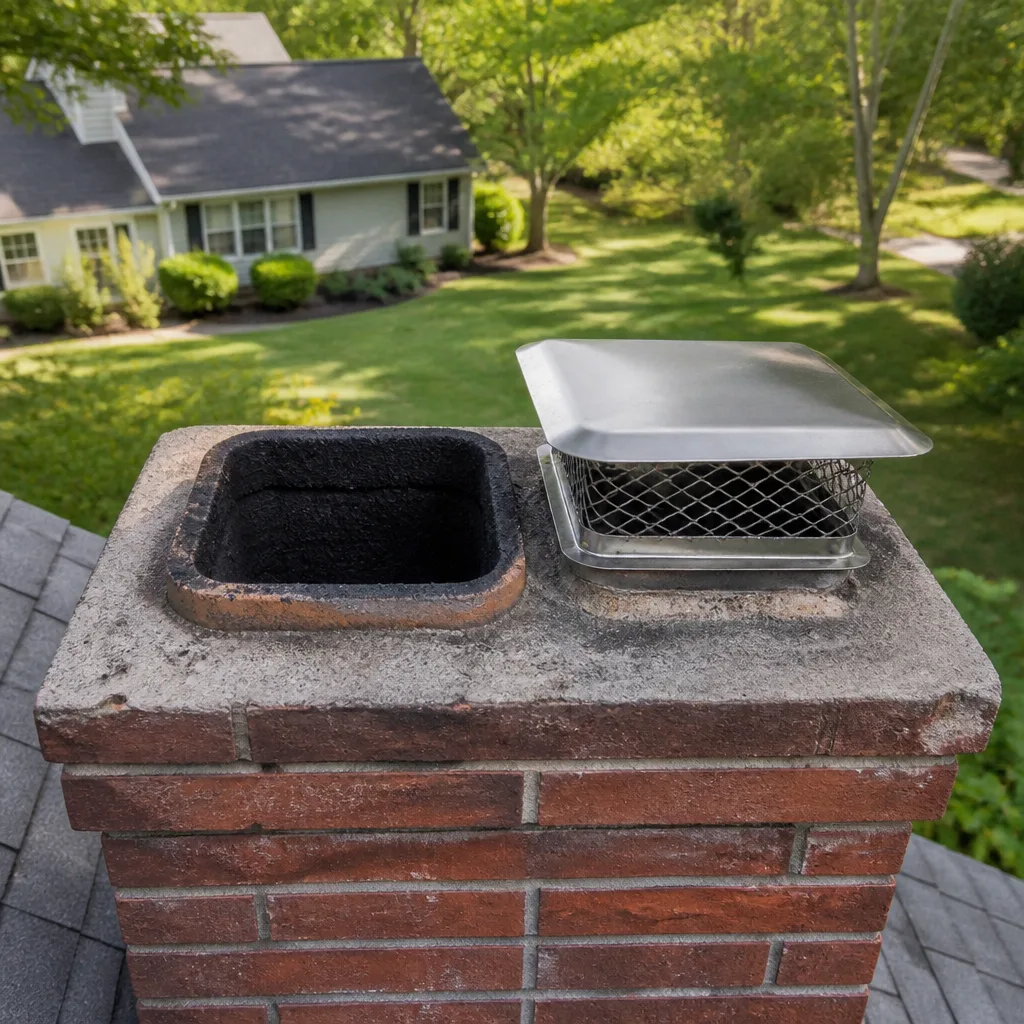
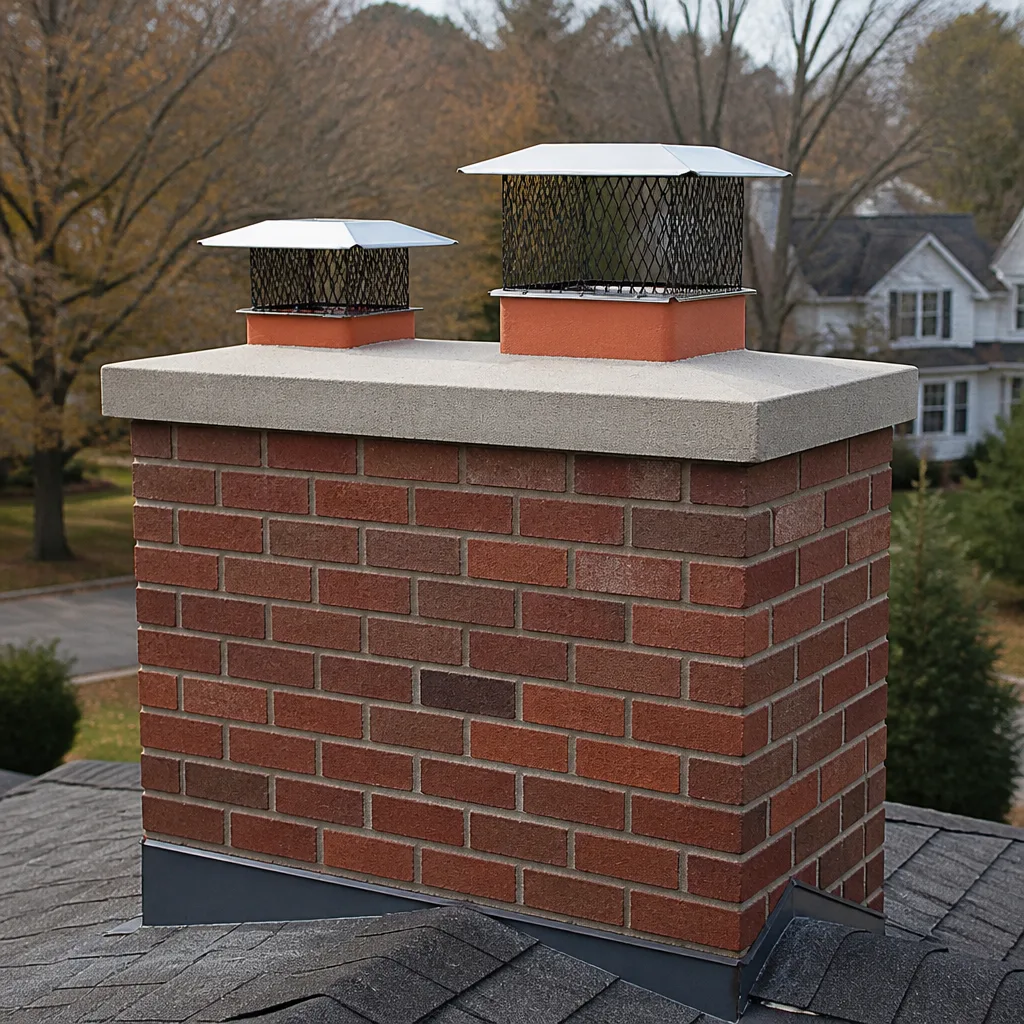 Caps & crowns
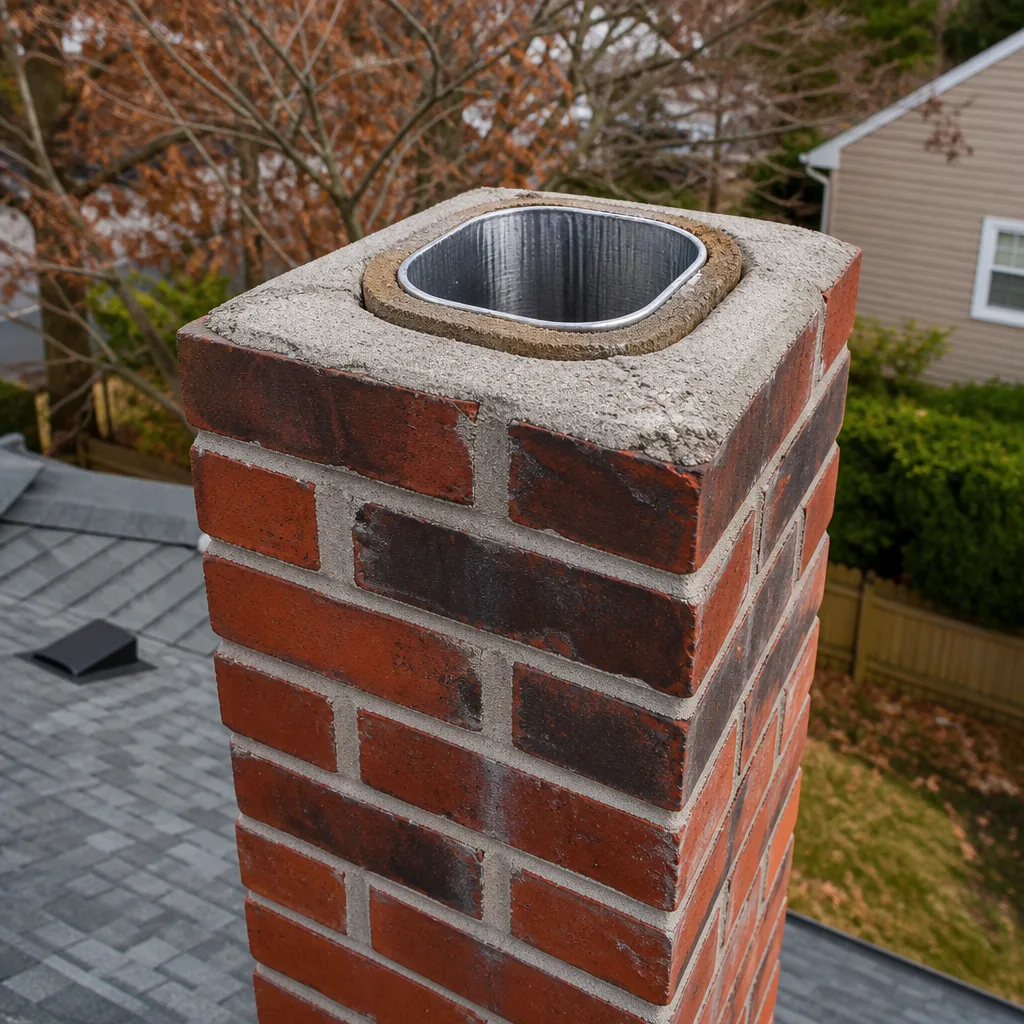 Flue relining
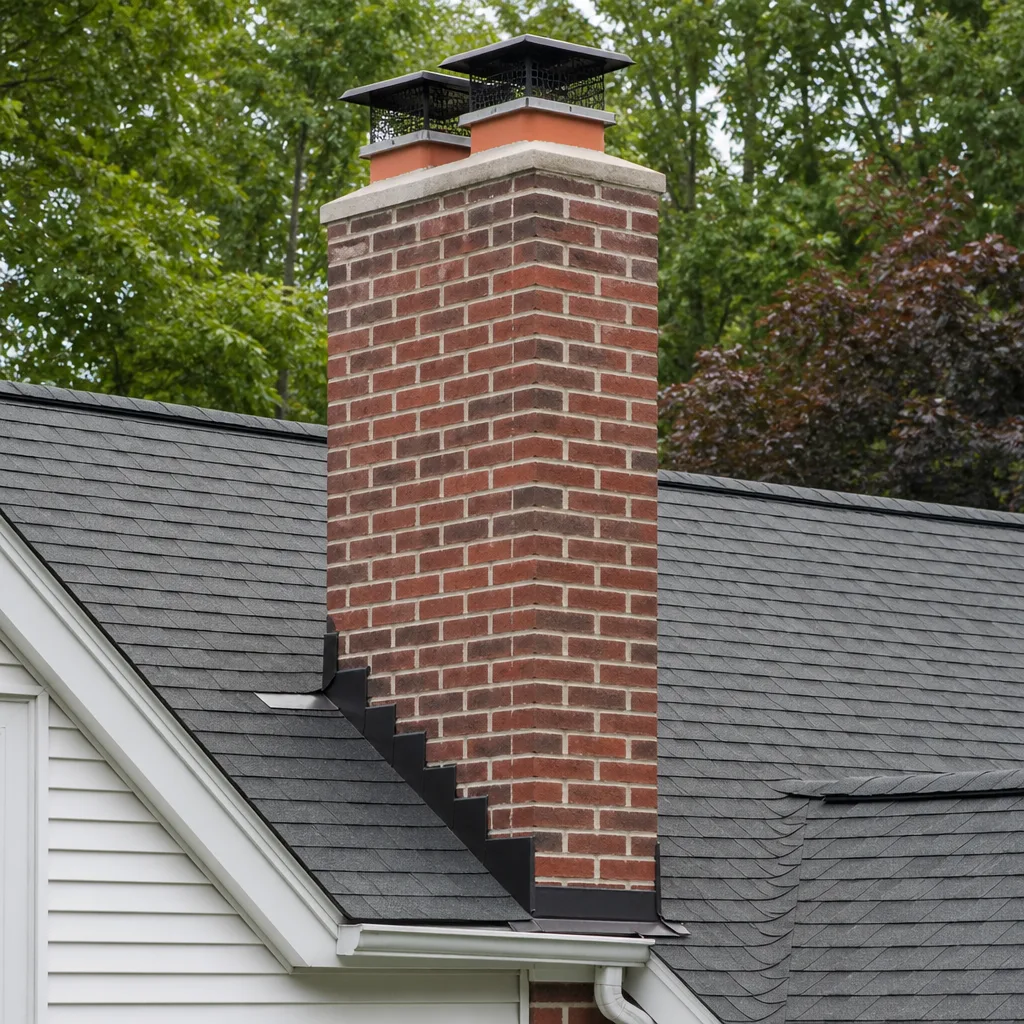 Masonry repair
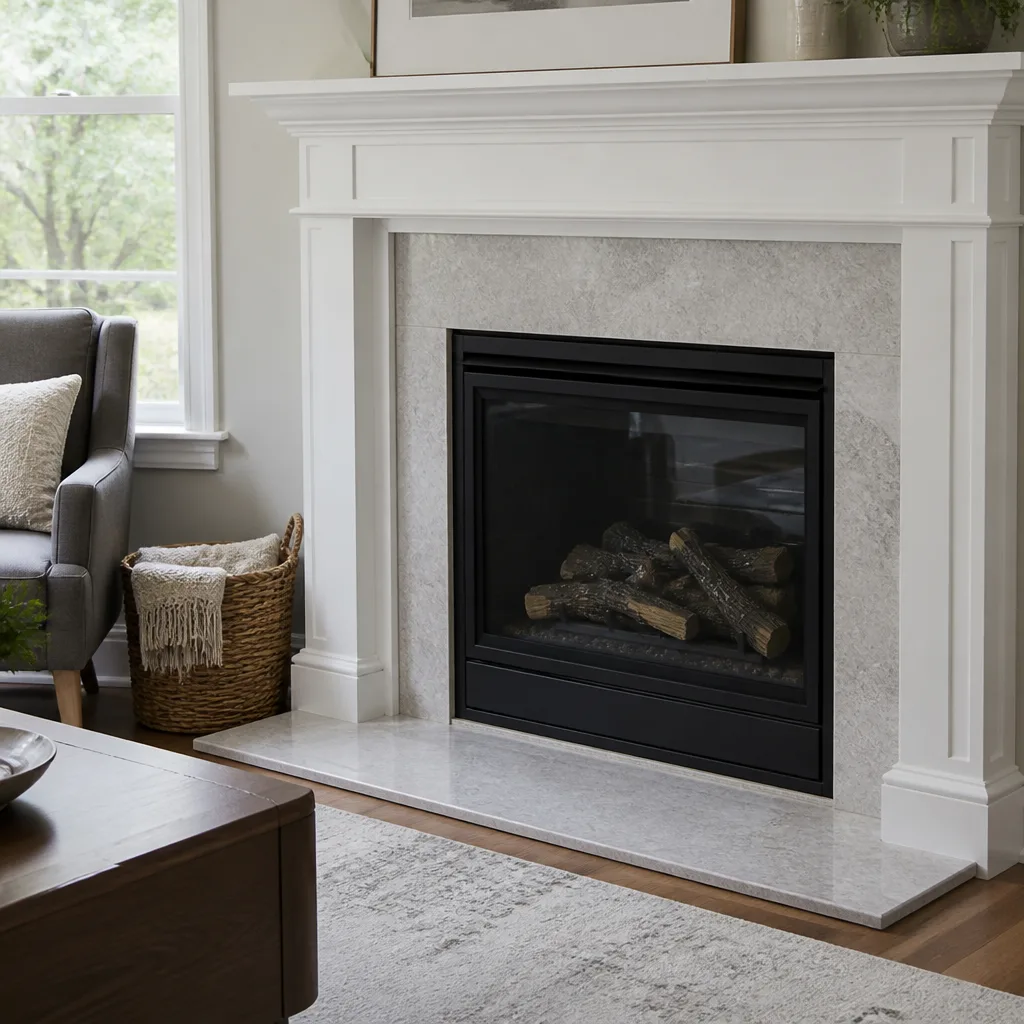 Gas fireplace service
Level 1 sweep and inspection to the NFPA 211 annual standard - flue, crown, cap, and flashing checked and photographed
Chimney sweep logs do not sweep chimneys. They loosen some creosote - which then falls where a brush and vacuum still have to collect it.
Chimney Sweep Maintenance Checklist for Glendale Homeowners
Here’s a statistic that surprises most Glendale homeowners: the majority of chimney fire and carbon monoxide incidents we see involve fireplaces that were used fewer than a dozen times the previous winter. Low use doesn’t mean low risk. After the 2020 Bobcat Fire, inspectors across the Glendale foothills found ash and debris packed inside flues of homes that hadn’t burned a log in months. Caps had failed, or were never installed in the first place, and the chimney became a collection point for whatever the Santa Anas carried in. This checklist is built specifically for Glendale homes, because what degrades a chimney here is not what degrades one in New England. You’ll learn what to inspect, what to photograph, what you can fix yourself, and what needs to be left to someone who works with professional-grade materials on a daily basis.
Styles & brands we work with
Quick Answer
A proper chimney maintenance checklist for Glendale homeowners covers five areas: visible mortar and brick condition, cap and spark arrestor integrity, flue liner surface condition, smoke chamber and damper function, and wildfire ash or ember intrusion. Most of this can be inspected visually from the ground or with a flashlight from inside the firebox, once or twice a year. The highest-value items you can address yourself are documenting changes with photos and replacing a damaged cap. Everything involving the flue interior, the smoke chamber, or the crown should be evaluated by a Chimney Sweep who can put eyes and a camera where you can’t safely reach.
Table of Contents
- Why Glendale Homes Need a Different Checklist
- The Seasonal Inspection Routine That Actually Works Here
- Exterior Checklist: What to Look for From the Ground
- Interior Checklist: Firebox, Damper, and What You Can See Up the Flue
- Glendale-Specific Items Most Checklists Skip
- Real Maintenance Intervals for Low-Use SoCal Fireplaces
- Documentation: Building a Baseline Like a Professional Would
- What You Can Do Yourself vs. What Needs a Licensed Sweep
- Common Mistakes to Avoid
- When to Call a Professional
- Frequently Asked Questions
- The Bottom Line
Why Glendale Homes Need a Different Checklist
Generic chimney checklists are written for cold-weather climates where a fireplace burns cordwood five months out of the year. Glendale is different. Our fireplaces get used maybe twenty to thirty nights annually, almost all between November and February. That changes what fails and how fast it fails. A chimney that sits idle for nine months doesn’t stay clean. It becomes a vertical corridor for whatever the wind pushes into it.
Three stressors define chimney wear in Glendale specifically. Wildfire ash and ember intrusion is the first. When the Bobcat Fire burned through the Angeles National Forest, the Santa Ana winds carried fine particulate ash miles into residential neighborhoods. That ash found its way into uncapped or poorly capped flues. The second stressor is hard water mineral deposits. Glendale’s municipal water supply carries measurable calcium and magnesium. Over years, small amounts of moisture migrating through masonry chimney walls deposit those minerals inside the flue, contributing to spalling in clay liners. We see this pattern in homes throughout the Verdugo foothills and neighborhoods like Rossmoyan and Sparr Heights. The third is mid-century masonry construction. A large share of Glendale’s housing stock was built between 1940 and 1970, and those chimneys are now 55 to 85 years old. Mortar joints from that era were mixed differently than modern formulations, and many have reached the end of their service life.
A checklist that doesn’t account for these three factors tells you to look for creosote buildup. That’s not wrong, but it’s incomplete. A Glendale homeowner with a clean flue can still have a dangerous chimney if the cap is missing and the liner is spalling from mineral intrusion. The checklist below is sequenced to catch the problems that actually occur in this city.
The Seasonal Inspection Routine That Actually Works Here
You don’t need to inspect your chimney every month. You need two inspection points each year, timed around the factors that matter most in Southern California.
The October Pre-Burn Inspection
This happens before you light the first fire of the season. The goal is to confirm that nothing accumulated over the summer that would make burning unsafe. October is also when the first strong Santa Ana wind events typically arrive, so this inspection catches any cap or flashing damage from the previous wind season.
The April Post-Burn Inspection
This happens after your last fire of winter. The goal is to document the condition of the firebox and flue at the end of the burn cycle, and to check for any wildlife activity that may have started. April is when birds and squirrels begin nesting in uncapped chimneys, and catching that early is far simpler than evicting an established nest later.
Both inspections take less than twenty minutes and require nothing more than a flashlight, a pair of binoculars, and your phone camera. The actual steps are covered in the next two sections.
Key Takeaways for Your Inspection Routine:
- Inspect twice a year: once before burning season and once after
- October inspection catches wind damage and summer debris accumulation
- April inspection catches nesting activity and documents end-of-season wear
- Photograph the same angles every time to build a comparable record
Exterior Checklist: What to Look for From the Ground
Start outside. Most chimney problems announce themselves on the exterior long before they affect what happens inside the firebox. You’re looking at four components: the cap, the crown, the visible mortar joints, and the flashing where the chimney meets the roof.
Step 1: Check the Cap and Spark Arrestor
Stand back far enough to see the top of the chimney. You’re looking for a metal cap covering the flue opening. If you don’t see one, that’s an immediate fail. An uncapped flue in Glendale collects leaves, ash, and embers during fire season, and gives birds direct access. If you do see a cap, look for rust, bent screens, or gaps where the cap meets the flue tile. A spark arrestor with holes larger than 3/4 inch won’t stop embers, and a cap that’s shifted out of place isn’t doing its job.
Pass: Cap is present, securely seated, and shows no visible rust-through.
Fail: No cap, cap shifted, spark arrestor screen torn or missing.
Step 2: Inspect the Crown
The crown is the concrete or mortar surface that seals the top of the chimney structure around the flue. Use binoculars if the crown isn’t visible from ground level. You’re looking for cracks wider than 1/8 inch, spalling (flaking or chipping concrete), or signs that water pools on the surface. A cracked crown lets water into the chimney structure, and in Glendale’s wet-dry cycle, that water expands and contracts through the seasons, widening the crack every year.
Pass: Crown is solid, no visible cracks wider than a hairline, no flaking.
Fail: Any crack wider than 1/8 inch, visible spalling, or plant growth in the crown surface.
Step 3: Scan the Mortar Joints
Run your eyes down the chimney stack, looking at the horizontal mortar lines between bricks. In Glendale, we’re looking for two things specifically: earthquake micro-fractures and general mortar deterioration. Earthquake fractures tend to follow a stair-step pattern through the joints. General deterioration shows as crumbly, recessed, or missing mortar. Both mean water intrusion and structural weakening.
Pass: Mortar joints are intact, not recessing more than 1/4 inch from the brick face.
Fail: Any stair-step cracking pattern, or mortar that flakes when you touch it with a stick.
Step 4: Examine the Flashing
Where the chimney meets the roof, there’s a metal flashing system that keeps water from running down into the attic. From the ground, look for lifted flashing edges, missing sections, or visible sealant failure. If you’re comfortable checking from a ladder, a quick visual of the flashing joint is worth doing. If you never go on your roof, make a note to ask a sweep to check it during their next visit. The flashing is not a chimney interior component, but failed flashing rots roof decking and can contribute to chimney movement over time.
Pass: Flashing is lying flat with no visible gaps or lifted edges.
Fail: Any lifted, curled, or missing flashing section.
Interior Checklist: Firebox, Damper, and What You Can See Up the Flue
Now move inside. Open the damper fully before you start, and put down a drop cloth or newspaper in front of the firebox. You’re going to be looking up, and small debris will fall.
Step 1: Examine the Firebox Walls
The firebox is the chamber where the fire actually burns. Inspect the firebrick on all three sides and the floor. You’re looking for cracked firebrick, gaps between bricks, or mortar that’s turned powdery and white. In low-use fireplaces, firebrick degradation comes mostly from moisture and age, not from over-firing. A brick that’s cracked clean through is a fail. A hairline surface crack in the mortar is normal and nothing to act on yet.
Pass: Firebrick is solid, no gaps wider than 1/16 inch between bricks.
Fail: Any brick that moves when you press it, any gap you can fit a penny edge into.
Step 2: Test the Damper Operation
Open and close the damper several times. It should move smoothly and seat fully in both directions. A damper that’s stuck open lets conditioned air escape up the chimney all year. A damper that’s stuck closed is a direct carbon monoxide hazard the moment you light a fire. If your damper is warped from heat or rusted at the hinges, that’s a straightforward repair; see our Chimney Sweep Troubleshooting: Common Problems and How to Fix Them for what to expect.
Pass: Damper opens and closes fully with minimal resistance.
Fail: Damper won’t open fully, won’t close fully, or doesn’t stay in the position you set.
Step 3: Look Up the Flue With a Flashlight
Lie on your back with your head in the firebox opening and shine a bright flashlight straight up. What you’re looking for is any visible obstruction (nest material, debris, a dislodged flue tile) and any obvious surface deterioration on the flue walls. In most chimneys, you can see the first several feet of flue from this position. What you’re looking to confirm is that the flue is a continuous, dark, vertical shaft with no branches, no bright spots indicating a hole or crack, and no visible daylight except at the very top. If you see anything other than a continuous dark shaft, call a sweep.
Pass: Clear, dark, continuous flue with daylight visible only at the cap.
Fail: Any obstruction, visible crack, or light entering from anywhere other than the top.
Step 4: Check the Smoke Chamber
The smoke chamber is the section between the firebox and the flue, where the smoke compresses and accelerates upward. From the firebox, angle your flashlight up and look for the sloped walls of the chamber. Creosote collects here even in low-use fireplaces because the smoke slows and cools in this section. You’re also checking for cracked or missing parging (the smooth coating applied to the smoke chamber walls). Most homeowners can’t get a complete view of the smoke chamber without a camera, so if you can’t see it clearly, that’s normal. Add it to the list of things to ask your sweep about.
Pass: Visible smoke chamber surfaces are smooth and free of heavy deposits.
Fail: Visible cracking, chunky creosote deposits, or you can’t see the chamber at all after trying.
Glendale-Specific Items Most Checklists Skip
This is where a generic checklist stops, and where Glendale homeowners actually get value. These are the three inspection items that matter in this city and nowhere else, at least not in the same combination.
Wildfire Ember and Ash Intrusion
After any significant wildfire event within ten miles of your home, even if the fire was contained quickly, check your flue and firebox for ash deposits. The Bobcat Fire demonstrated how far ember and ash travel on Santa Ana winds. Fine ash can pass through a spark arrestor that would stop larger embers, and it accumulates in the smoke chamber and on top of the damper. If you find a dusting of ash in your firebox during the summer when you haven’t burned anything, that ash came from outside, and it tells you the cap is underperforming or the flue is letting material in through a gap. This is the single most important Glendale-specific checklist item we can give you.
Earthquake Micro-Fracture Check
Southern California experiences constant small seismic activity. Most of it is never felt. Over years, that repeated low-frequency vibration creates micro-fractures in mortar joints and in clay flue liners. After any earthquake you actually felt, do a visual mortar joint scan within a week, looking for the stair-step pattern described in the exterior checklist. Even if there’s no earthquake, do this scan at your April and October inspections. The question isn’t whether your chimney has been subjected to seismic stress, it’s whether the stress is visible yet.
Santa Ana Wind Stress on the Cap
Santa Ana winds in Glendale routinely gust to 40 or 50 mph, with hill-adjacent neighborhoods experiencing stronger gusts. That wind puts horizontal load on chimney caps, and over several seasons, the mechanical fasteners that hold a cap in place can loosen. Check for cap shift after the first strong Santa Ana event each fall. A cap that’s moved even a half inch is no longer properly seated, which means embers and water can get under it. This is the most common report we get after wind season: a homeowner noticed the cap looked tilted and called for a check. Catching it early means a simple re-seating instead of a full cap replacement.
Real Maintenance Intervals for Low-Use SoCal Fireplaces
The standard advice is to have your chimney swept annually. That guidance comes from cold climates where a fireplace burns constantly for months and creosote accumulates at a meaningful rate. In Glendale, the honest maintenance interval depends on how you use your fireplace, and a rigid annual sweep rule can mean either too much sweeping or too little. Here’s what actually applies.
For a Decorative or Rarely Used Fireplace (Under 10 Fires per Year)
You don’t need an annual sweep. You need an annual visual inspection, which you can do yourself with the checklist above, plus a professional camera inspection every two to three years. The risk in a rarely used fireplace is not creosote, it’s deterioration that happens while the fireplace sits unused. That’s what the professional inspection catches. If you burn a handful of fires a year, a professional sweep every 24 to 36 months is appropriate, with your own visual inspections happening every October and April.
For a Regular Use Fireplace (10 to 40 Fires per Season)
This is still low-use by national standards, but it’s enough burning to accumulate creosote, especially if you’re burning wood that isn’t fully seasoned. An annual professional sweep is the right interval here, and you should time it for late September or early October, before the burn season starts. The sweep will also catch any structural issues that developed over the summer.
For a High-Use Fireplace or Wood Stove (40+ Fires per Season)
If you’re using your fireplace as a primary heat source, or if you have a wood stove insert, you’re operating closer to cold-climate usage patterns and should follow the annual sweep rule without exception. Some high-use wood stoves in Glendale benefit from a mid-season sweep, especially if the homeowner is burning wood with higher moisture content. If you can hear a crackling sound when you open the damper after a fire has cooled, that’s creosote contracting, and it’s a signal to have the flue checked before the next burn.
Gas Fireplace Maintenance
Gas fireplaces produce no creosote, but they still need chimney maintenance. The venting system collects dust, spider webs, and mineral deposits. Gas logs can produce enough soot to coat the flue walls over time, and that soot is corrosive to metal liners. A gas fireplace should be inspected annually and swept every two to three years depending on usage. The glaze on ceramic gas logs also degrades with heat cycles, and the thermocouple and thermopile components wear out. Those are fireplace service items, not chimney items, but a good sweep will flag them during an inspection.
Documentation: Building a Baseline Like a Professional Would
The single most valuable maintenance habit for a Glendale homeowner is photographic documentation. When we perform a chimney inspection, we take before-and-after photos of the flue interior and the exterior structure. Those photos create a record that lets us see, year over year, whether a crack is growing or stable. You can do the same thing from the ground, and it will make you a much better judge of when to call a professional.
What to Photograph Every Time
- The cap from directly below, if visible, or from the best ground angle you can get.
- The crown, using binoculars if necessary, from at least two angles.
- The full chimney stack, from a distance that shows the entire masonry column.
- Inside the firebox, with the flash on, showing the back wall and both side walls.
- Up the flue, with the flash on, holding the camera where you’d normally hold your flashlight.
- The damper, from inside the firebox, showing its position and visible surface condition.
Keep these in a dedicated album on your phone. When you do an inspection and compare to the previous photos, you’re looking for change. Has a crack in the crown grown longer? Has a rust spot on the cap become a hole? Is the flue getting noticeably darker in the photos? A stable crack in a crown can be monitored for years without action. A crack that doubles in length in twelve months needs professional evaluation now. This is how we diagnose accelerating deterioration in our own inspection work, and it’s the single best way for a homeowner to avoid either over-reacting or under-reacting.
What You Can Do Yourself vs. What Needs a Licensed Sweep
Some of this checklist leads to actions you can take yourself. For everything else, explore our more guides & resources or make that call. Knowing the difference saves you money on the wrong things and keeps you safe on the right things.
What a Homeowner Can Handle
- Visual inspections following the checklists above, twice a year, every year.
- Photographic documentation to build a comparable record.
- Cap replacement on a single-story home with a low-pitch roof, if you’re comfortable working on a ladder and the chimney is easily accessible. Most hardware store caps are not professional grade, but a cap from a fireplace supply shop is a legitimate homeowner project.
- Firebox cleaning between professional sweeps, using a shop vacuum with a HEPA filter. Never sweep the flue yourself from the roof. That’s a professional job with professional equipment.
- Damper lubrication with a high-temperature graphite lubricant, if the damper is stiff but functional.
What Needs a Professional Sweep
- Anything inside the flue. You cannot inspect a flue liner properly from inside the firebox, and you should never attempt to brush a flue from the roof without proper training and fall protection. Flue inspection requires a camera system that can navigate the full length of the liner.
- Cracked flue liner evaluation. If your document review suggests a liner crack, that’s a professional evaluation, not a DIY project. Depending on what the camera shows, the repair path could be HeatShield resurfacing rather than a full relining, but that’s a decision made with actual imagery, not guesswork.
- Smoke chamber access. The smoke chamber is not accessible from the firebox in most chimneys. A professional has the tools to reach and inspect it.
- Any structural repair. Mortar repointing, crown repair, and flashing replacement are professional jobs. The materials we use, including Olympia Chimney and Gelco products, are not available at retail, and the work affects the structural integrity of your chimney.
- Anything involving roof access. If your chimney is on a second story, or if the roof pitch is steep, or if you simply don’t want to be up there, that’s the right call. Roof falls are a leading cause of homeowner injury, and chimney work on a roof adds an extra layer of risk.
Our approach at Glendale Chimney Sweep is to spec professional materials by name, so you know exactly what’s going into your chimney. If we recommend a repair, we’ll show you the camera footage that supports it. If we don’t find anything that needs immediate action, we’ll tell you that too. Chimney sweep services in Glendale aren’t about manufacturing problems; they’re about verifying the condition of a system you can’t see into on your own.
Common Mistakes to Avoid
- Assuming low use means no maintenance. In Glendale, a rarely used fireplace often needs more attention than a regularly used one, because deterioration happens while the chimney sits idle, and no one notices until the next burn.
- Treating a missing cap as cosmetic. A missing or damaged cap is the single most common entry point for wildfire embers, nesting animals, and debris. In fire season, it’s a real fire-safety defect, not an aesthetic one.
- Ignoring small cracks because they’re small. In Glendale’s wet-dry climate cycle, a crack that’s 1/16 inch wide today is 1/8 inch wide in two years. Photograph it, monitor it, and act when the documentation shows acceleration.
- Burning unseasoned wood. Glendale firewood suppliers sell seasoned and unseasoned wood. Unseasoned wood produces more creosote per fire, and creosote is what makes a chimney fire possible. If you burn, buy wood that’s been seasoned at least six months.
- Skipping the April inspection because burning season is over. Nesting season starts in spring, and a bird or squirrel that moves in during April is far easier to remove than one that’s fully established by June.
- Assuming a gas fireplace doesn’t need chimney maintenance. Gas fireplaces still vent through a flue, and that flue still collects debris, soot, and in some cases nesting material. Gas appliance venting failures are a carbon monoxide concern.
- Using a handyman for flue work. Chimney systems are not general construction. The materials, tools, and code requirements are specific, and a generalist who doesn’t know what goes into a smoke chamber or a flue liner can make a small problem significantly worse. This is the exact reason our chimney repair service in Glendale exists as a specialized trade, not an add-on to somebody’s handyman services.
When to Call a Professional
Call a professional sweep if your checklist turns up any of these findings: a missing or shifted cap, a crown crack wider than 1/8 inch, stair-step mortar cracking, any visible obstruction in the flue, a damper that won’t fully open or close, or ash in your firebox during the summer when you haven’t burned anything. Also call if you’ve lived in your home for more than three years and have never had the flue camera-inspected, regardless of what your visual inspections show. Some of the most dangerous conditions we find, particularly cracked clay liner sections in mid-century Glendale chimneys, are invisible from inside the firebox and only show up on a camera inspection.
Glendale Chimney Sweep offers free estimates in Glendale. Call (833) 467-6493 and we’ll schedule an inspection, show you the camera footage, and explain exactly what needs to be done and what can safely wait.
Frequently Asked Questions
A standard chimney sweep in Glendale typically runs between $150 and $300 depending on the condition of the flue, the height of the chimney, and whether you have a fireplace insert or a standard masonry firebox. If the sweep includes a camera inspection, expect the higher end of that range. Call (833) 467-6493 for an exact quote for your home, and we’ll walk you through what the price includes before we book anything.
You should never accept a liner replacement recommendation without seeing the camera footage that supports it. A cracked clay liner is a real problem, but in many cases it can be addressed with HeatShield resurfacing rather than a full tear-out and relining. HeatShield is a ceramic coating applied inside the existing flue to seal cracks and restore the liner surface. At Glendale Chimney Sweep, we show you the footage, explain the options, and let you decide. If we recommend a full liner, it’s because the camera shows damage that resurfacing won’t safely address.
For a low-use fireplace in Glendale, every 24 to 36 months is sufficient, paired with your own visual inspections twice a year. For regular seasonal use, sweep annually in early fall. For high-use fireplaces or wood stoves, sweep annually at minimum, and some setups benefit from a mid-season sweep. Gas fireplaces should be swept every two to three years even though they produce no creosote.
Most likely, nothing dramatic in the short term. That’s why people skip it. The danger accumulates quietly. A cracked liner grows a little each year. A failing crown lets a little more water in each season. Creosote builds up thin layer by thin layer. Then one evening the conditions align, usually a hot fire after a period of accumulation, and you have a chimney fire or a carbon monoxide event. The maintenance exists to catch problems before they align. There’s nothing about a neglected chimney that announces itself in advance without a camera inspection.
Yes, and this is a genuinely important item for homeowners in the foothill neighborhoods like Chevy Chase Canyon and the Verdugo Woodlands. A properly fitted cap with a 3/4-inch spark arrestor mesh prevents wind-driven embers from entering your flue and coming to rest in your smoke chamber or on top of your damper. A cap that’s shifted, rusted, or missing does the opposite. During Santa Ana-driven fire events, embers can travel a mile or more. Your chimney is one of the few openings in your home that faces the sky and connects to the interior. It should be guarded.
A sweep-only company cleans flues and performs inspections. A repair company diagnoses and fixes structural problems: cracked liners, deteriorated crowns, failing mortar joints, and smoke chamber damage. Some of that repair work requires specialized materials and training, including flue resurfacing systems like HeatShield and flexible liner systems like DuraFlex. At Glendale Chimney Sweep, we do both the sweeping and the repair, which means we can identify a problem during a sweep, show you the evidence, and fix it without bringing in another contractor. We also handle dryer vent cleaning in Glendale, which addresses another common house-fire risk in the same service visit.
The Bottom Line
Your chimney is a system, and in Glendale it’s a system under specific, local stress: wildfire ash, seismic micro-fractures, Santa Ana winds, and the aging of mid-century masonry. A maintenance checklist only matters if it’s calibrated to those stressors. Inspect twice a year, photograph everything, know the difference between what you can handle yourself and what needs a professional camera, and maintain the right sweep interval for how you actually use your fireplace. When you do bring in a professional, ask to see the footage and the material specs. The more you understand what’s happening in your flue, the better the decisions you’ll make about it. Start your checklist today from the ground, and if anything doesn’t look right, call Glendale Chimney Sweep at (833) 467-6493 and we’ll take it from there.
Written by the team at Glendale Chimney Sweep, serving Glendale since 2011.
See the difference
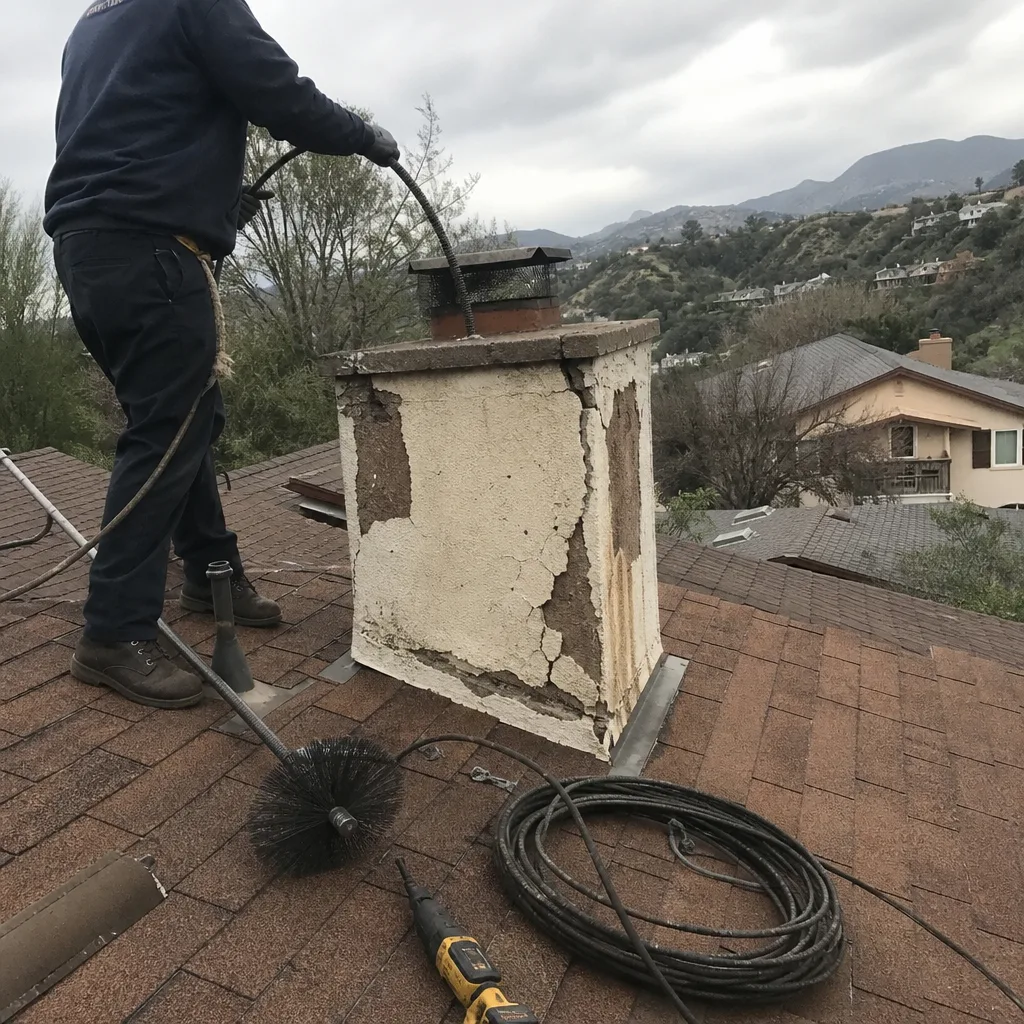 Before
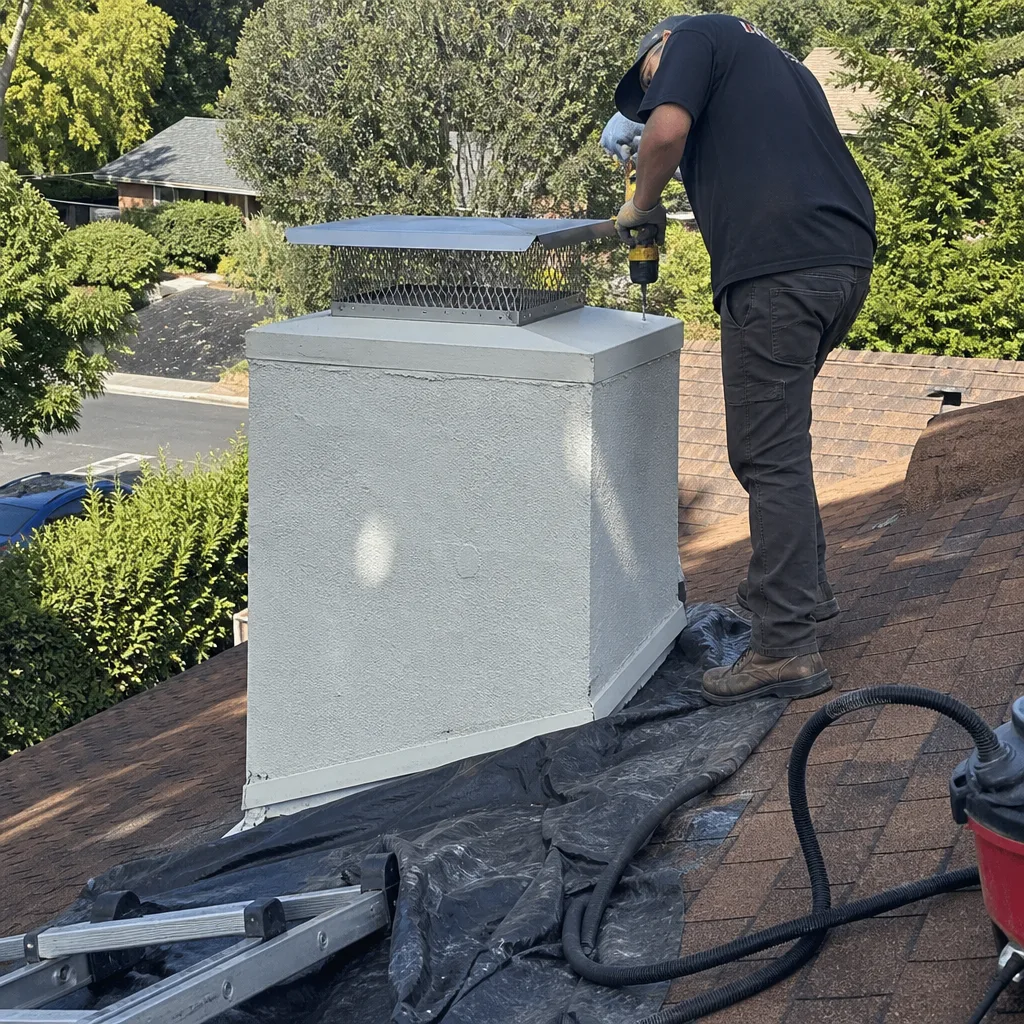 After
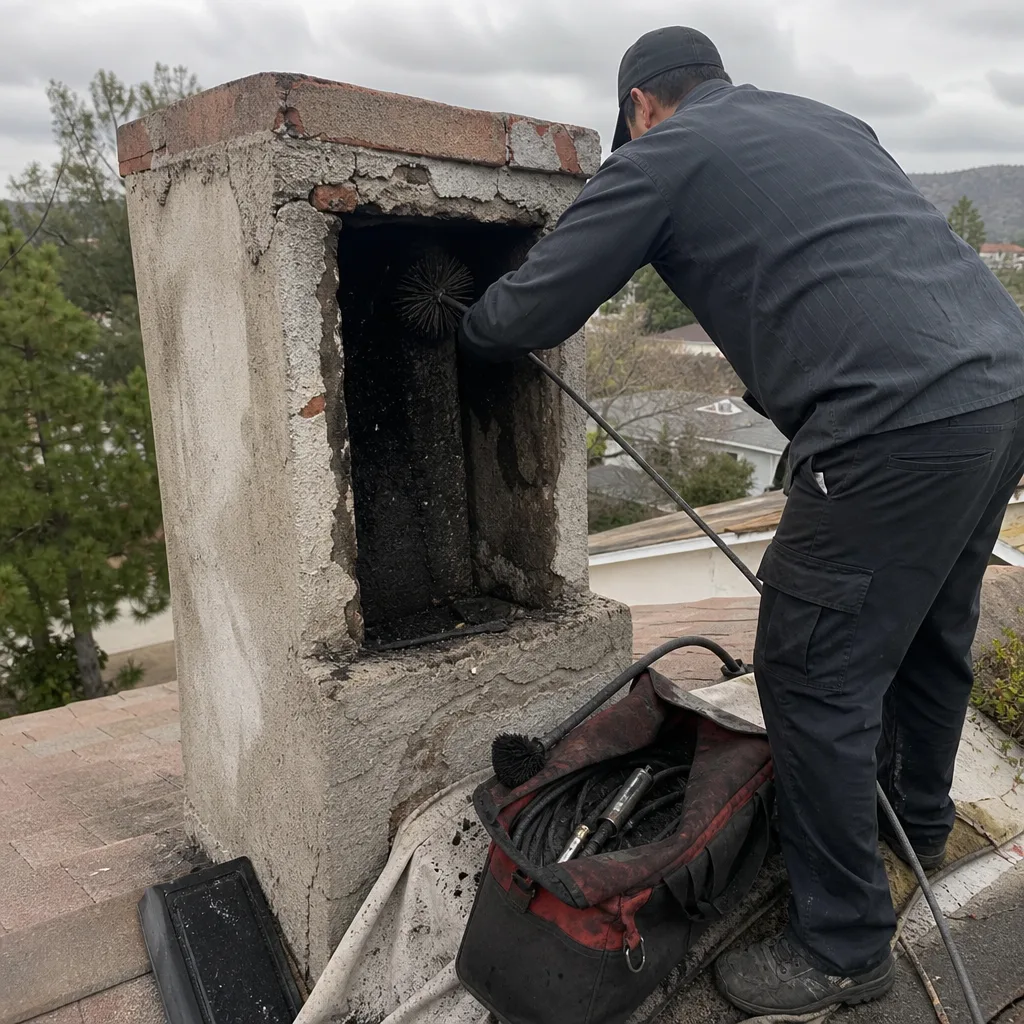 Before
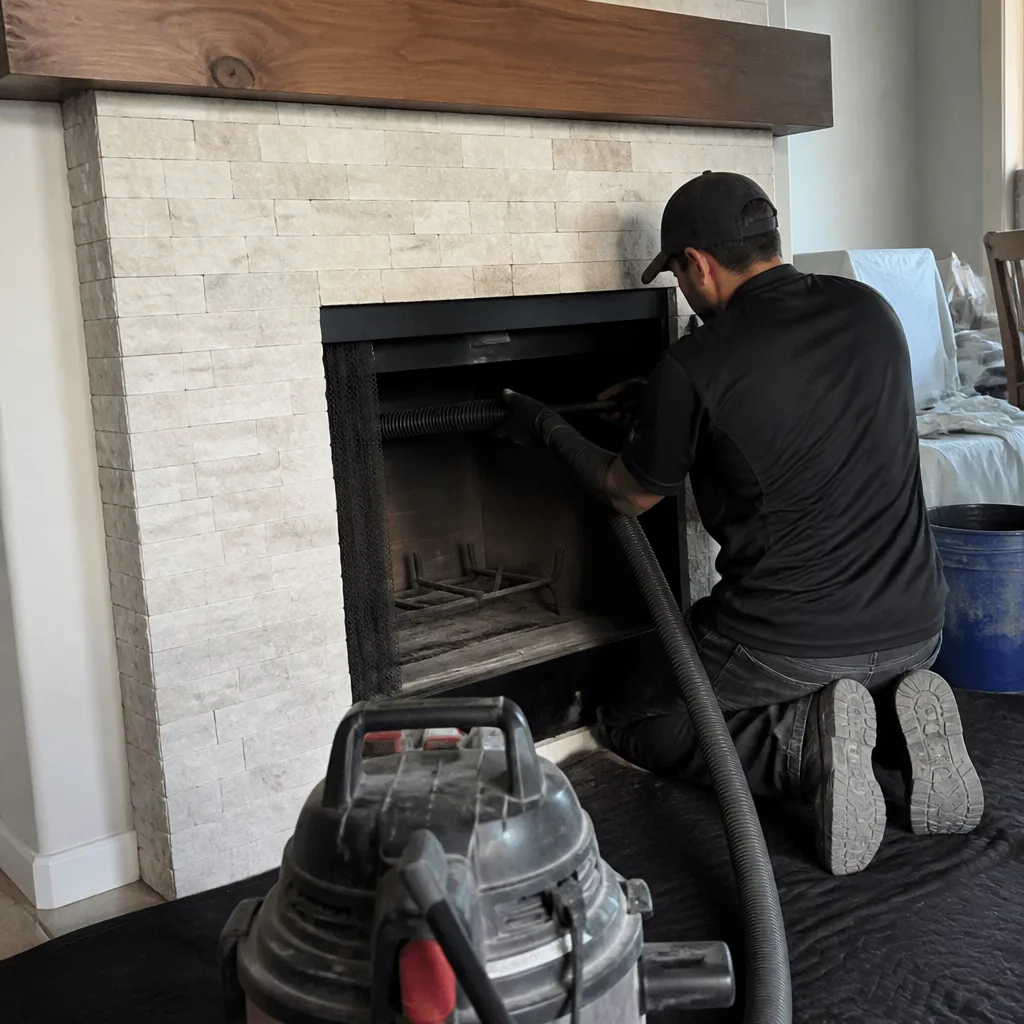 After
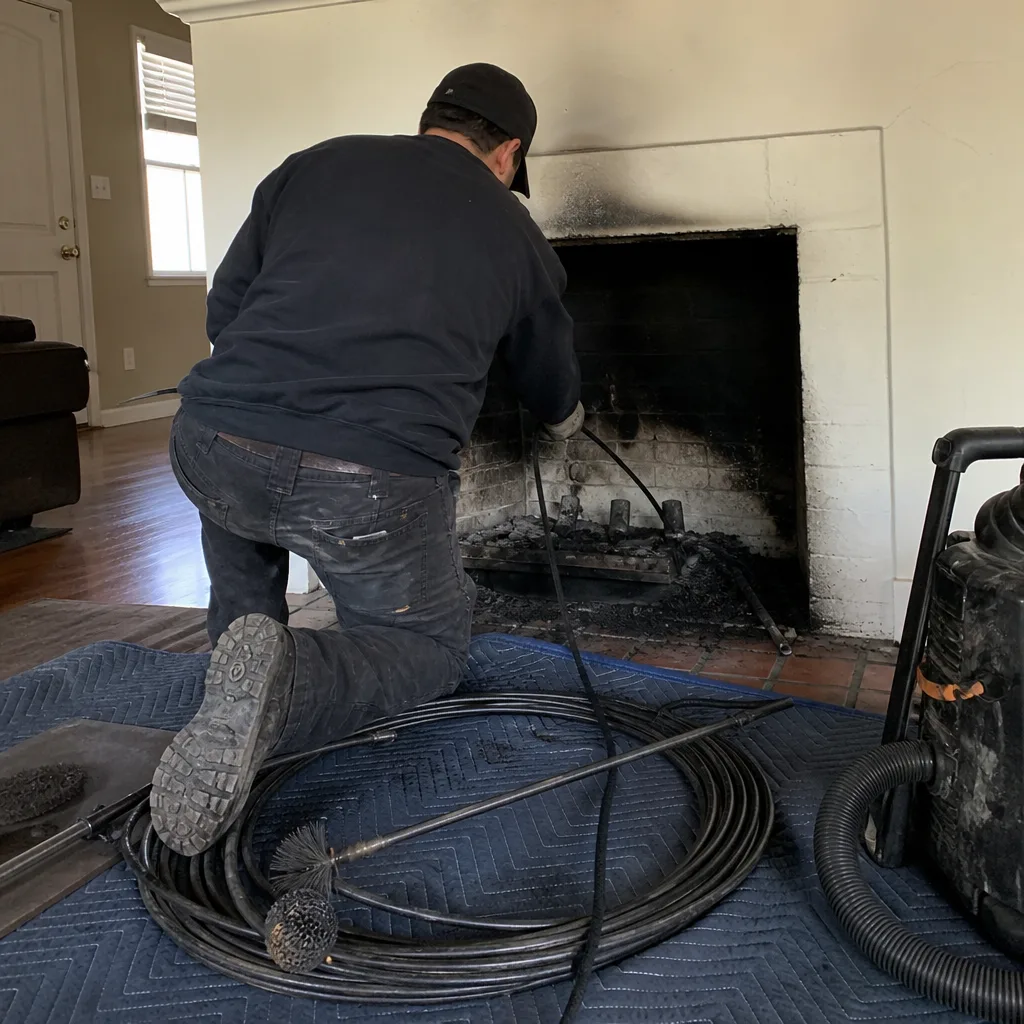 Before
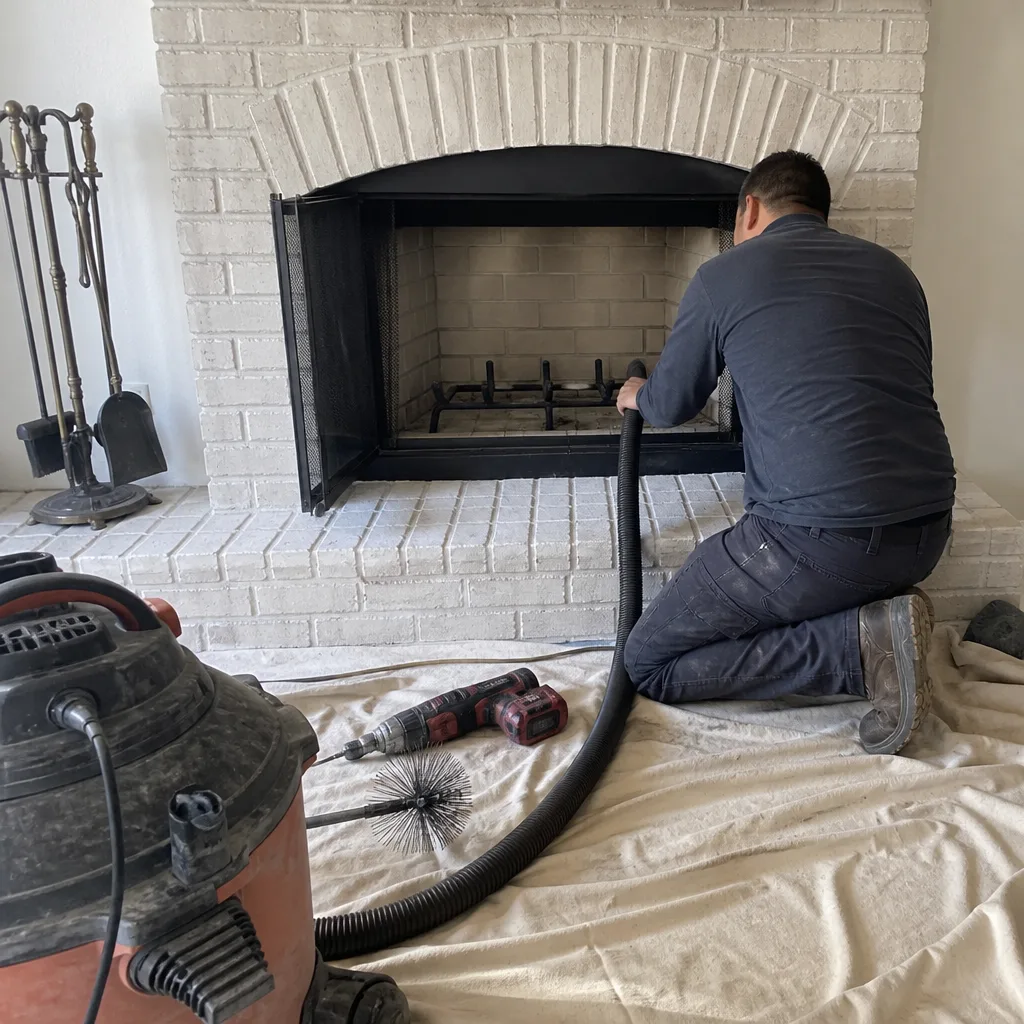 After